CraftCMS + RedwoodJS
pt. 1: Basic Connection and Entries Query
As RedwoodJS gains more terrain, it's time to see if its generators and well organized structure will help us out with building the front end of a CraftCMS site.

Requirements
- A CraftCMS site.
- Run CraftCMS in ddev, nitro, or alike
- A new RedwoodJS project (start from their tutorial)
Steps
If you'd like to follow along you can use the sample repositories I created for this experiment. You'll find the commits to be an almost step by step of the process all the way from the preparation of the CraftCMS site.
The CMS repository will require you to go through the basics of creating a database and all but that's just standard. In this case I created three sample entries to use as reference.
Prepare your Craft Installation for GraphQL
Be sure you're able to access GraphQL in your Craft instance. This will require you to have 'enableGql' => true in your config/general.php file and to be running the Pro version of Craft.
(5d46b926@crafty-redwood-blog-cms)
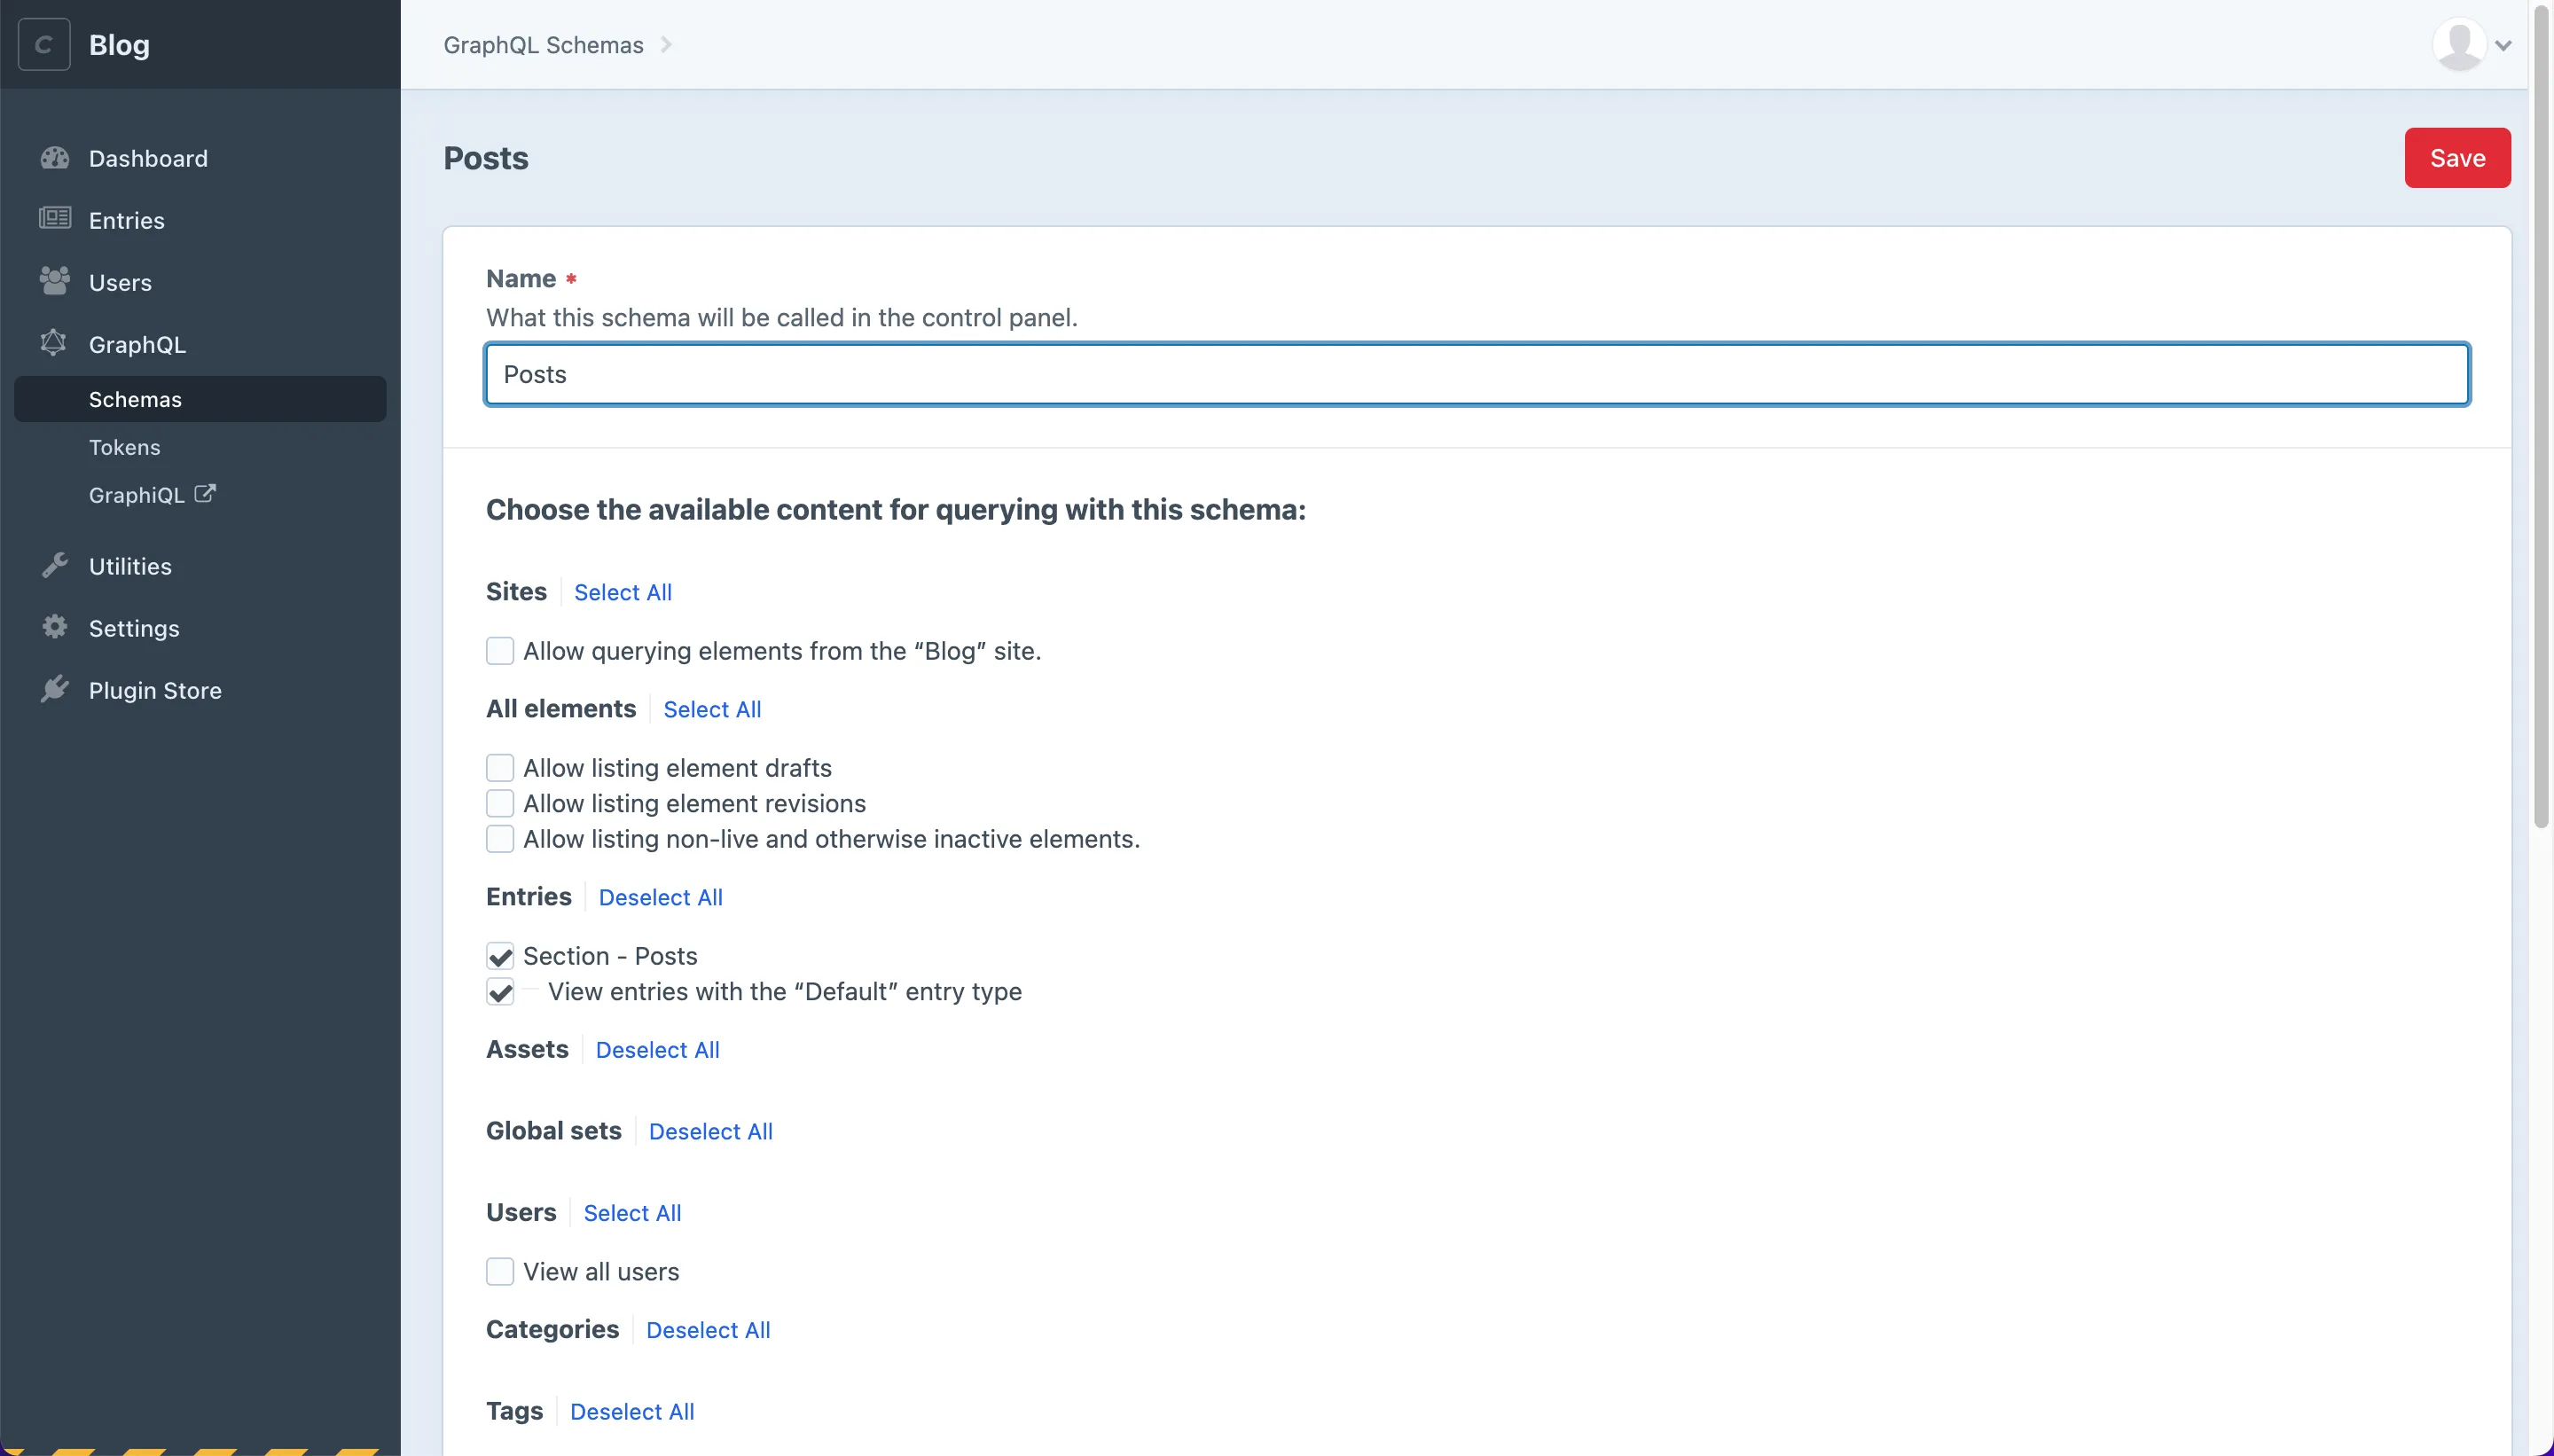
You will then need to create a Schema enabling access to the content you wish to retrieve. In this case that will be our "Posts" section.
(8339cdc0@crafty-redwood-blog-cms)
And finally you will need to create a token to authenticate your connection from the front. In this case we're simply calling it RedwoodJS.
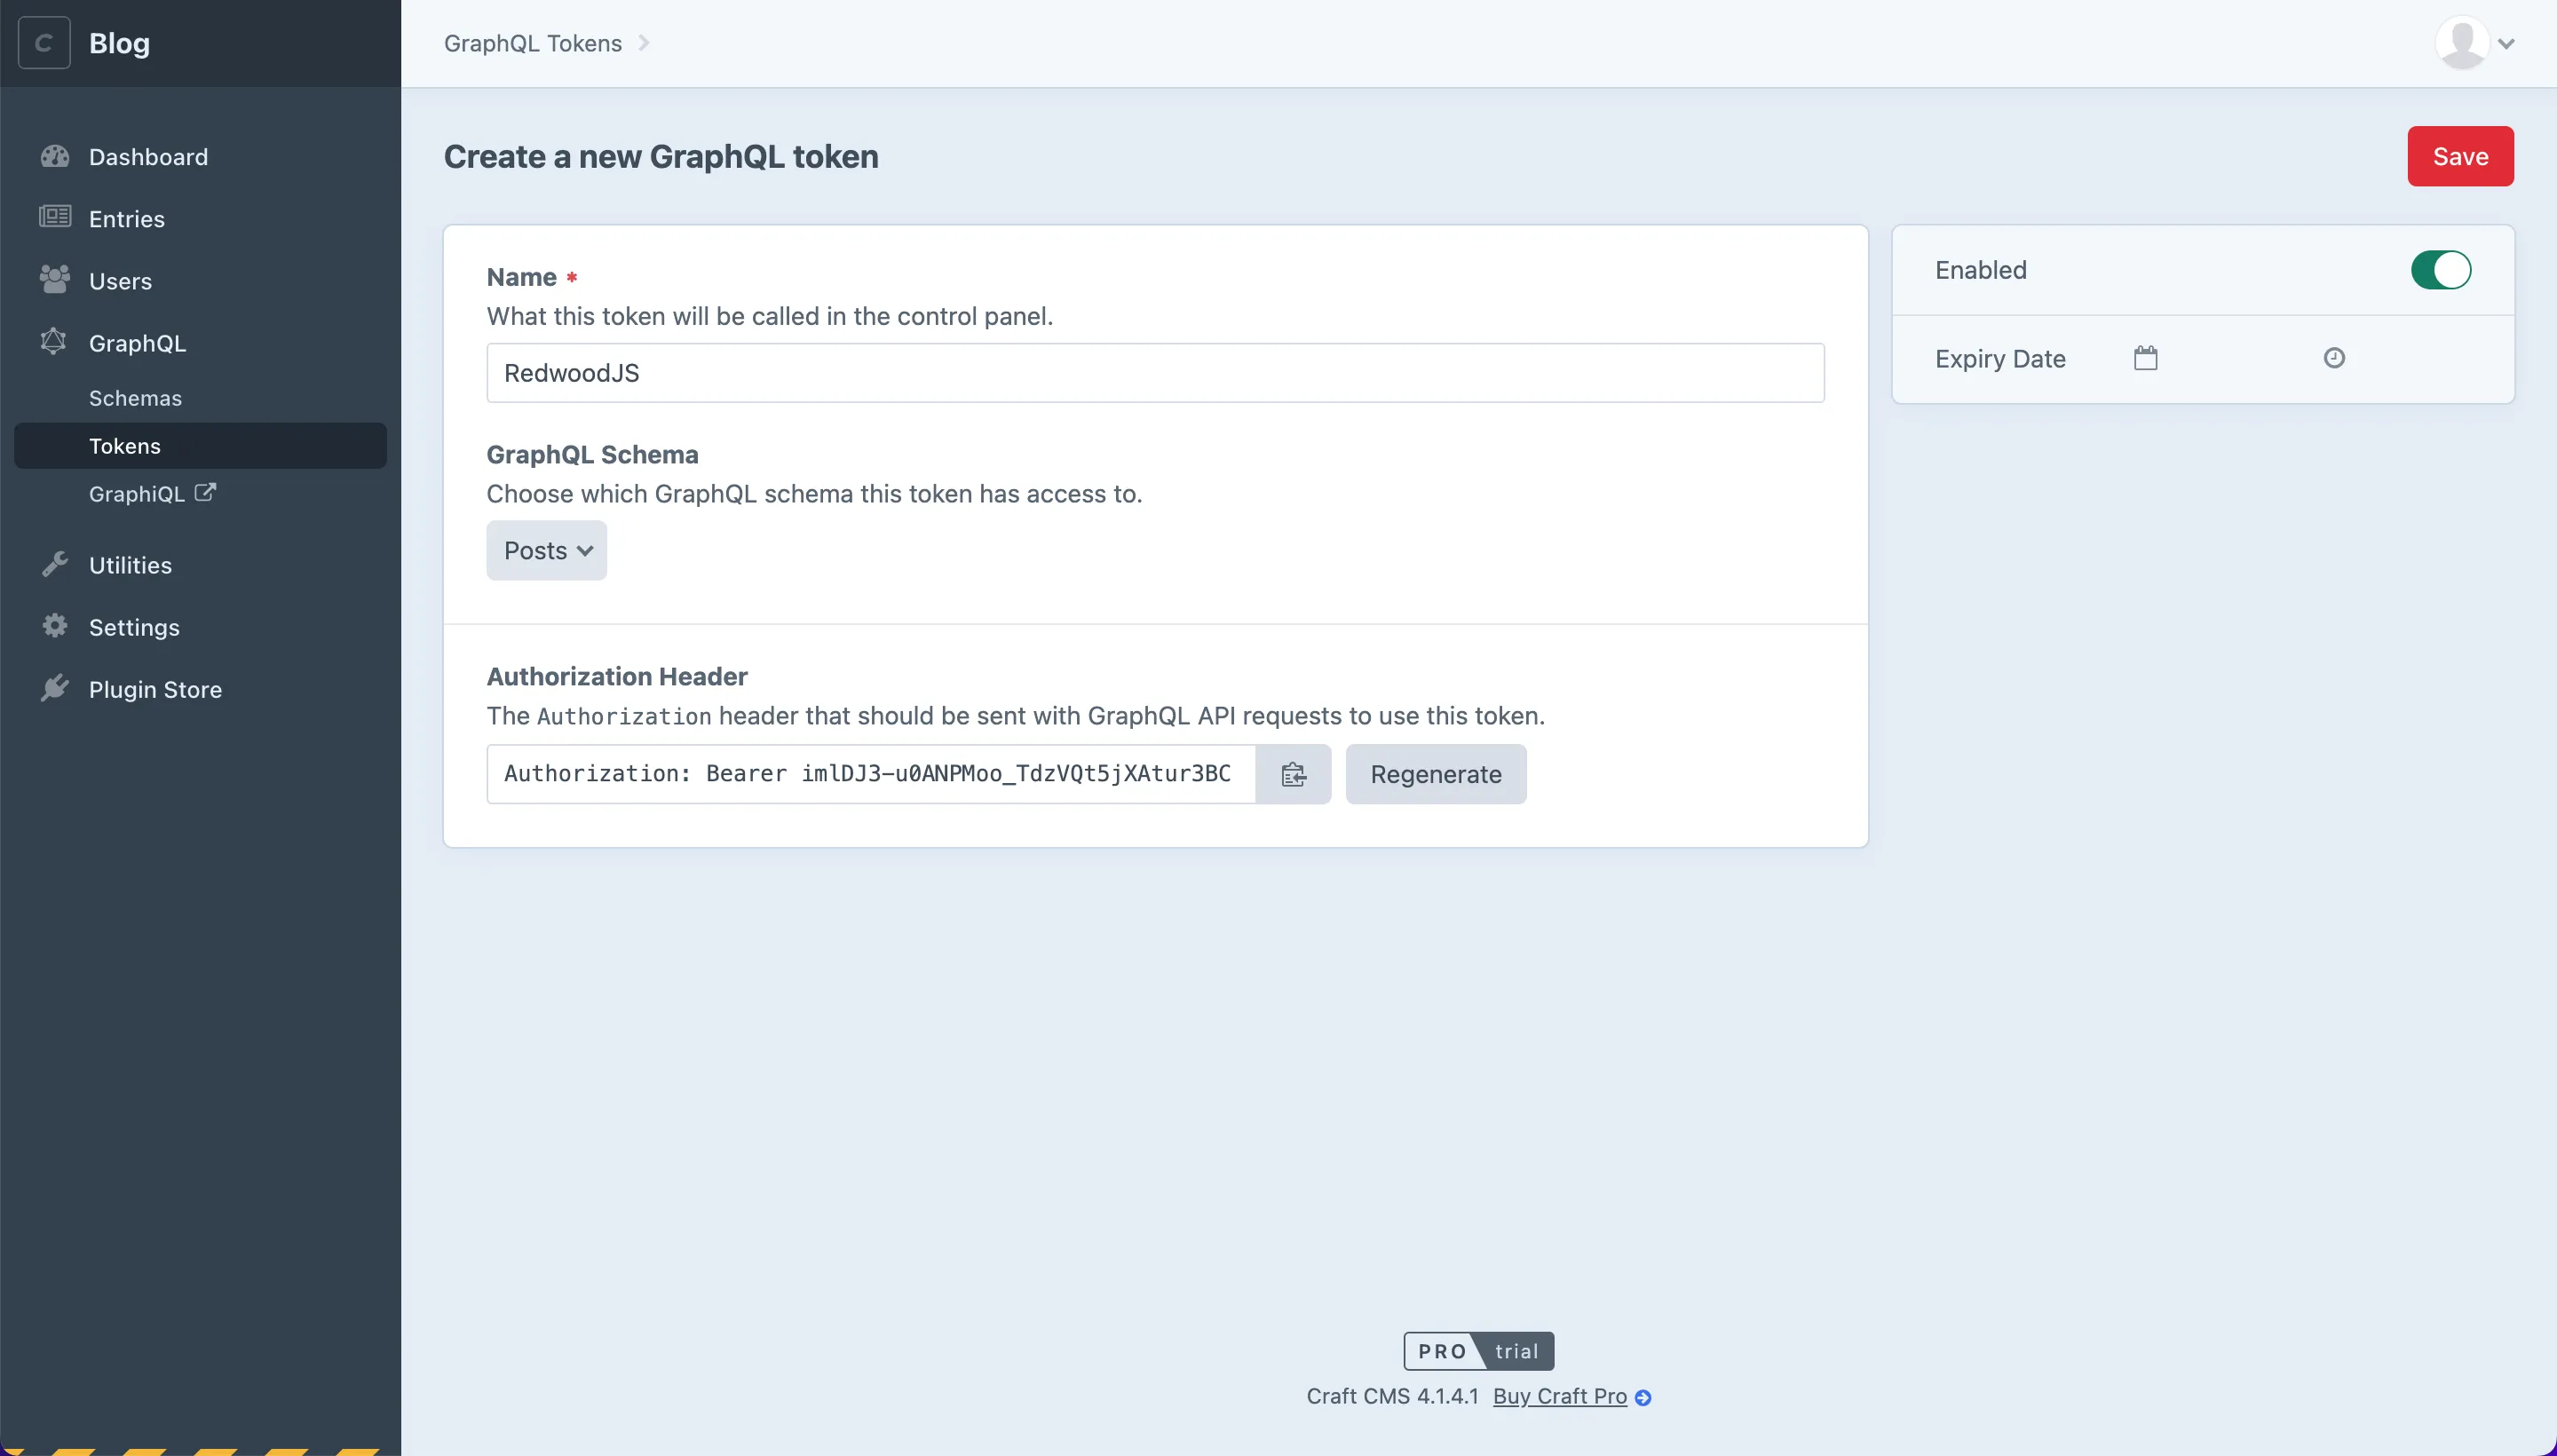
At this point you should be able to test your schema in GraphiQL and build a simple query to retrieve all entries titles.
query FindPosts {
    entries {
        title
    }
}
Should result in something like:
{
    "data": {
        "entries": [
            { "title": "Follow the White Rabbit" },
            { "title": "Lorem Ipsum Dolor sit Amet" },
            { "title": "My First Post" }
        ]
    }
}
Install Requirements and Setup GQLClient
If you haven't yet created a Redwood site, now it's a good time to go through their tutorial. You can start with a fresh new install running:
yarn create redwood-app ./front-end
(7b22cc56@crafty-redwood-blog-front)
Because we're connecting to an external database, we will need to replace their Prisma client altogether. Keep in mind that this also means we won't be using their models and therefore won't be able to take advantage of their backend generators. As you'll see in later steps this can become quite cumbersome compared to a standard Redwood application.
We will use graphql and graphql-request. Go ahead and install them in your api workspace running:
yarn workspace api add graphql-request graphql
(c3c3f122@crafty-redwood-blog-front)
Now, in your api/src/lib/db.js file, go ahead and replace the contents with the code below. This will create a request async function that we can call in order to talk to our Craft instance. At this point we're only passing a query variable. We will modify this in a later episode to be able to also pass variables.
import { GraphQLClient } from 'graphql-request'

export const request = async (query = {}) => {
  const graphQLClient = new GraphQLClient(process.env.CRAFTCMS_API_URL, {
    headers: {
      authorization: process.env.CRAFTCMS_API_AUTHENTICATION,
    },
  })
  try {
    return await graphQLClient.request(query)
  } catch (error) {
    console.log(error)
    return error
  }
}
Additionally, you'll notice that we're saving our Craft instance information in our .env file. It's important that because we're in local we use http instead of https. Otherwise Redwood may not be able to recognize the certificate and fail to connect.
CRAFTCMS_API_URL="http://blog.ddev.site/api"
CRAFTCMS_API_AUTHENTICATION="Bearer xxxxxxxxxxxxxxxxxxxxxxxxxxxxxxxx"
(0aeea1cb@crafty-redwood-blog-front)
Create Cell to Request and Display Data
Now let's:
- Create a Homepage:
yarn rw g page home / - And create a cell for our Entries:
yarn rw g cell Entries
It's important to note that even thogh our content in Craft is made of the section Posts, we're actually building a cell for a more general content, Entries. This is because behind the scenes, all entries in Craft are the same instance. We'll review how to get specific sections in a later post.
In our /web/src/components/EntriesCell/EntriesCell.js let's be sure to add a line for title to request it (or replace id for simplicity).
export const QUERY = gql`
  query EntriesQuery {
    entries {
      id
      title
    }
  }
`
And finally we'll proceed to replace the intro text in our web/src/pages/HomePage/HomePage.js with a heading and our cell:
    <h1>Entries</h1>
    <EntriesCell />
(c3c2ddf4@crafty-redwood-blog-front)
Create service and SDL
Now, for the juicy part! Because we're not relying on Redwood to build the connection to our database and it doesn't have a way to know what our data looks like, we gotta manually build the schema that CraftCMS uses and then the services that our front end will use to request the data we need.
Rebuild Schema
A very useful tool to understand and be able to build our SDL file is CraftCMS' instance of GraphiQL used at the beginning of this tutorial. Be sure to have that handy to explore what the structure is like.
Add a api/src/graphql/entries.sdl.js file and let's start by building our query. Much like what you'll find in GraphiQL, we need our Query to return entries that reference an EntryInterface object.
import gql from 'graphql-tag'

export const schema = gql`
  type Query {
    entries: [EntryInterface]
  }
}
Craft uses an interface to be able to tie together all the different sections you can create in your site so that they all share the same basic fields (id, title, created time, etc). Let's define that next:
# ...
  interface EntryInterface {
    id: String
    title: String
  }
# ...
And finally, we need to define the actual type that implements the interface above. Each type has to reference the original fields but it can also add its own set of fields.
# ...
  type posts_default_Entry implements EntryInterface {
    id: String
    title: String
  }
# ...
With that our schema is complete, and we just need to add @skipAuth since these requests will be publicly available.
  type Query {
    entries: [EntryInterface] @skipAuth
  }
  interface EntryInterface {
    id: String
    title: String
  }
  type posts_default_Entry implements EntryInterface {
    id: String
    title: String
  }
Create a Service
Now, in order to obtain data from this schema, we need to have a service that will actually request the information we pass it along. At this early stage, this may seem like we're just repeating stuff, it will take shape once we move to more complex queries in future posts.
Create an /api/src/services/entries/entries.js file. We start by calling our newly created request function and creating the entries const that will be called by our cell. Here we'll need to specify all the fields that our front end can have access to and we also need to include __typename since we're using an interace for our entries. Finally we make the request and return the entries given.
import { gql } from 'graphql-tag'
import { request } from 'src/lib/db'

export const entries = async () => {
  const query = gql`
    query EntriesQuery {
      entries {
        __typename
        id
        title
      }
    }
  `
  const response = await request(query)
  return response['entries']
}
(93e436df@crafty-redwood-blog-front)
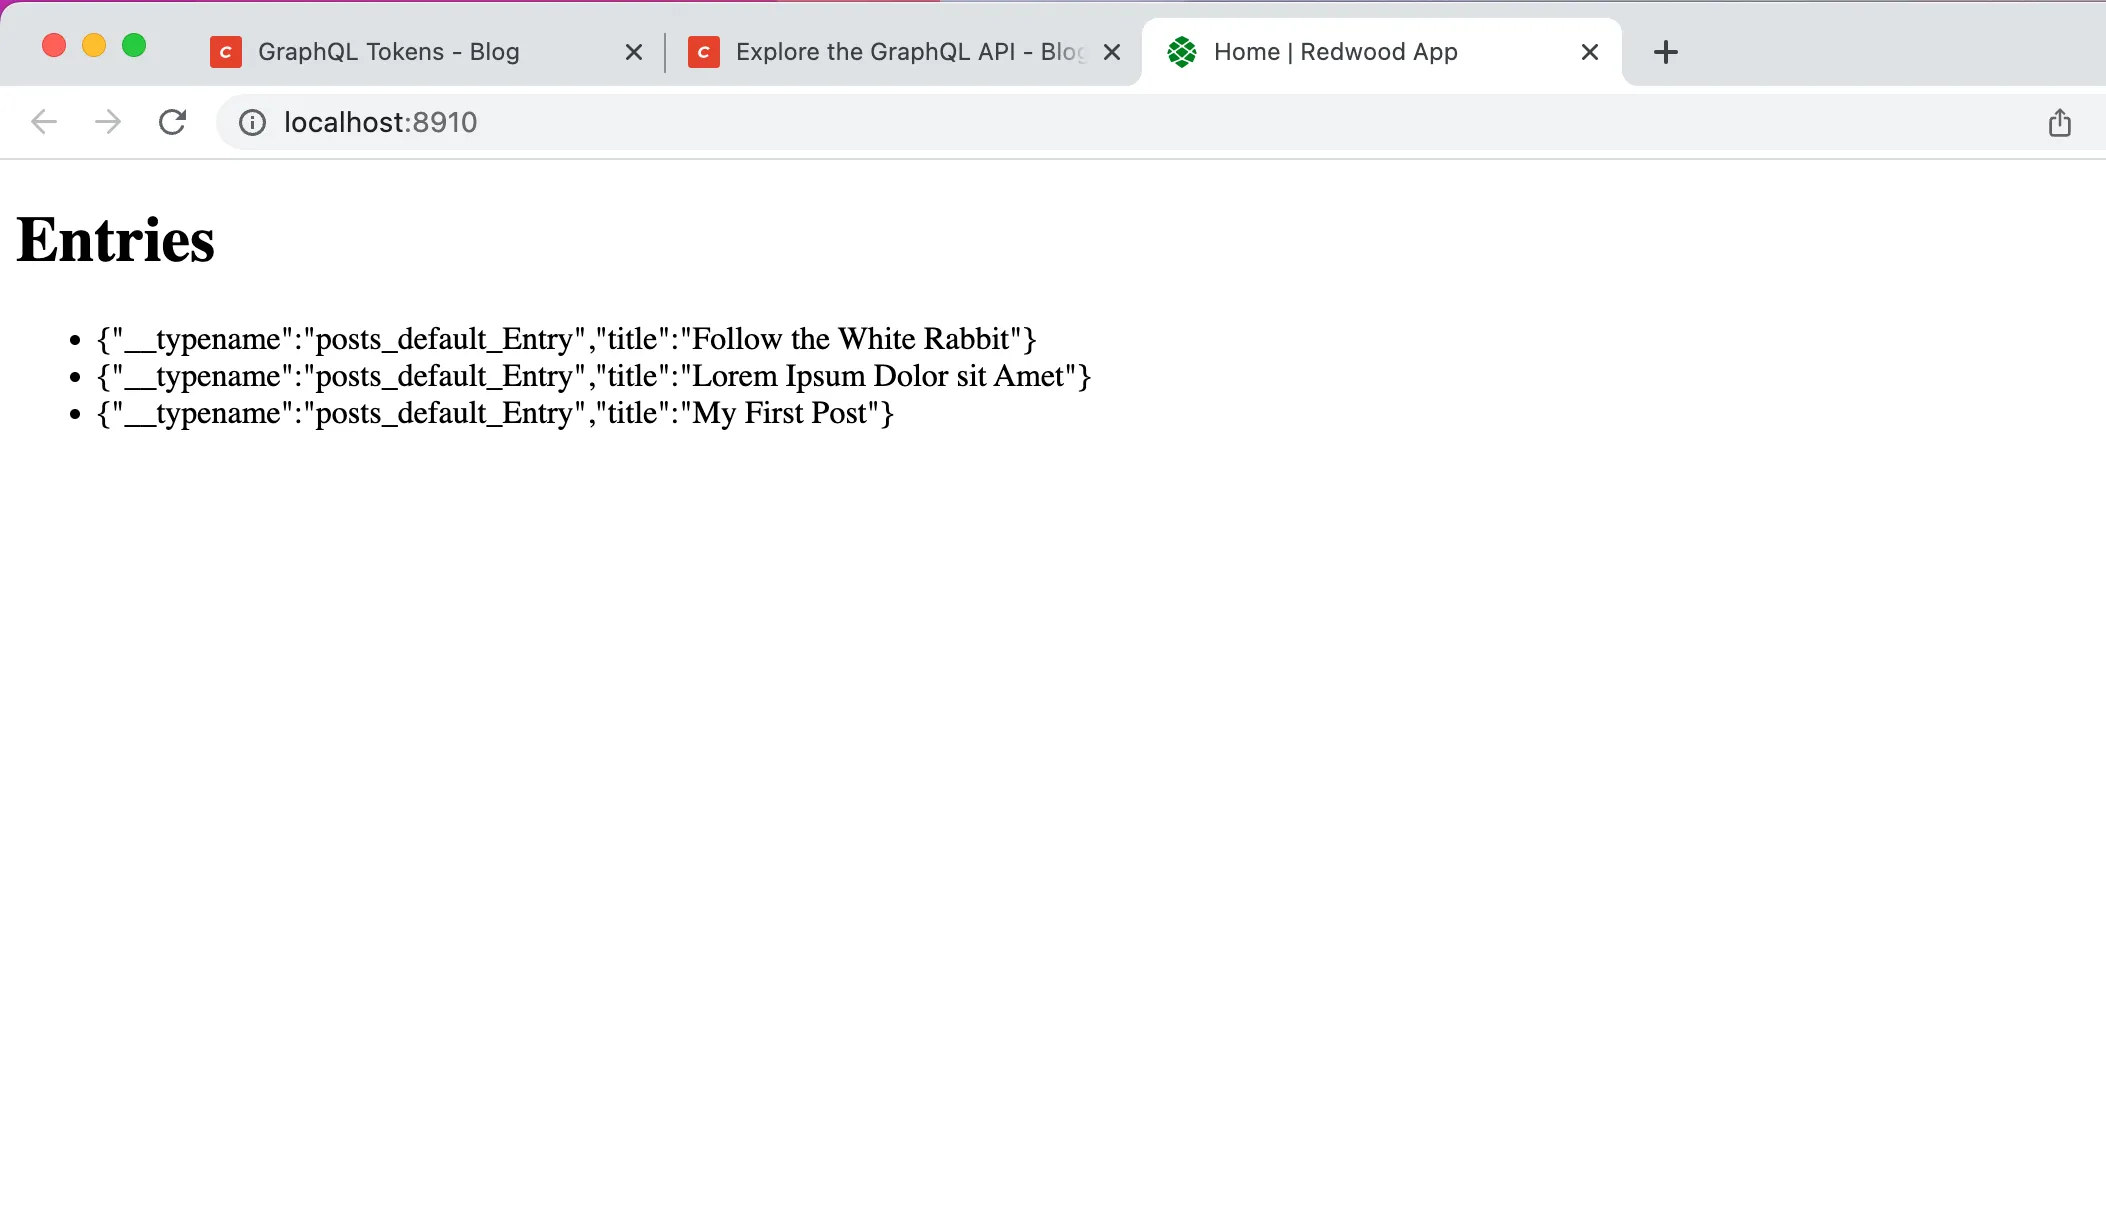
Results
At this point you should be able to see the titles of the entries available in your CMS.
Greetings and Final Thoughts
My first attempts at doing this were absolutely awful. Even with some articles I found I couldn't get the connection in place to the point I almost gave up. Luckily, user Anthony Campolo from the RedwoodJS Core Team wrote a great article on how to connect to FaunaDB. This article is completely based on that and simply focuses more on the Crafty side of it. Thanks Anthony!
As eloquently put by michtio in CraftCMS' discord channel, "if you are already looking to replace 2 out of 3 core things of a framework I would ask myself if the framework is an actual fit for the project". It's still pretty early to say if it's worth the trouble. Most of the benefit I've seen from RedwoodJS is in the fast start it gives you but... we're already taking away some of that so let's see how much is left.
P.S.: If you don't see more posts of this (say a few months from now) then it was probably a bad idea...